
Sometimes things in the kitchen don’t quite turn out as intended. You start with a seemingly credible recipe, measure your ingredients meticulously, pop the mix in the oven and wait patiently with your fingers and toes crossed. Surely it will turn out right after all that. Yet, inexplicably, you draw from the oven an item that barely resembles the image on your recipe. “Oh god, is it even edible?” is the first thought that runs through your head. I like to call situations like this ‘divine intervention’, rather than admit that somewhere along the lines I messed up spectacularly. Take Wednesday for example – I followed a new recipe to the tee (an unusual occurrence), confident that in doing so nothing could possibly go wrong. However that faith meant thatI failed to see the warning signs going off in the background. I frowned at the cupcake batter in my bowl and tried to fathom just how I was going to pour it into the muffin tin when it resembled cookie dough. Despite thinking “Huh, I’ve never made cupcakes like this before” and my gut suggesting something was wrong, I ploughed on, resorting to squishing the mixture into the liners with my hands. I’m sure you can picture the result.
20 minutes later I pulled a tray of 12 rock-like things from the oven. Heavy, dense and dry, they had barely any flavour to redeem their dismal status. Remember my ‘divine intervention theory’? Well I figured this must have been a message from the powers that be. The baking gods. Thou shalt not make spider cupcakes.
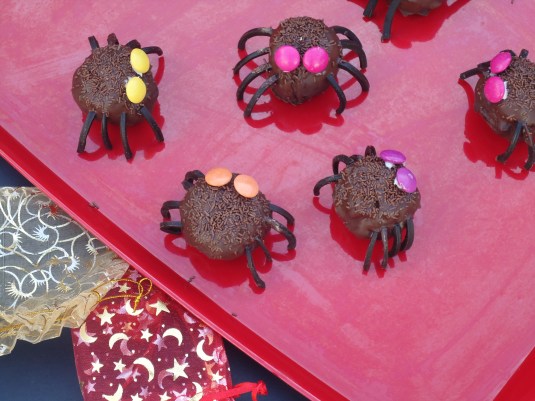
There’s almost always a solution to baking mishaps, because in the end cake is cake, right? You can’t really go fundamentally wrong with that. Well actually you can, but now’s not the time for that discussion. Take one batch of miserable, dry chocolate cupcakes, a tub of store bought frosting (criminal, I know, but it actually works better in this scenario), a packet of chocolate melts, Smarties, liquorice and chocolate sprinkles and what do we have? Sweet, sugary, totally over the top Halloween-themed Spooky (well, to be honest not that spooky at all) Spider cake balls. Apparently they appealed to the baking deity as they turned out fine if not a little, no, make that very, indulgent.
I’ve gotta admit that I never really jumped aboard the cake-ball/pop bandwagon. There’s nothing wrong with them, I’d just rather bake other things. That involve less decorating and more, well, making. But in situations such as this, cake balls work wonders at luring baking disasters back from the grave. They can be fiddly and require spadeful’s of patience, yet I have to admit that the final result will give you a kick.
Rather than go into length about the production now, I’ll leave all that detail for the recipe below. Because I can make them largely from guesswork, then you’ll manage just fine without me sounding like a stuck record. However, there a few points that do require reinforcing:
– Crumble your cake/cupcakes into really fine crumbs, otherwise your cake balls will refuse to take on a completely spherical form.
– You should chill the cake balls in the freezer for at least an hour after rolling. This helps to prevent them falling apart in the melted chocolate. Which is not fun.
– Your chocolate must be fluid and runny (the picture below is meant to show this, though it doesn’t do a brilliant job at it). If the chocolate is too thick, then it wont run off the cake balls properly, resulting in an uneven coating, and a very frustrated you.

– Once you have dunked the cake balls in the chocolate and carefully placed them on a tray to set, do not touch them for at least four hours. Finger-marks are not pretty.
– Perhaps most importantly, be gentle and patient at all times. It goes without saying that the more love you put in, the bigger reward!
Oh and one more thing. Trust your gut when it comes to baking – and anything in life for that matter – more often than not it’ll say ‘I told you so‘ later on.
Spooky Spider Cake Balls
Makes approximately 24 cake balls.
Ingredients
– 1 batch chocolate muffins/cake (about 800g) A dryer consistency is preferable.
– 400g store-bought frosting, plus more for attaching eyes (I used Betty Crocker Creamy Deluxe Vanilla). This is approximate – you may need more or less.
– 220g (or a little more) chocolate ‘melts’/cooking chocolate. I used half milk, half dark.
– 1 tsp to 1 tbsp sunflower oil.
– 1m roll licorice, cut into thin strips, 3cm long (you will need eight per cake ball).
– Smarties or M&M’s.
– Chocolate sprinkles. At least 1/2 cup.
Method
When the cake/muffins are completely cool, use your hands to crumble them into a large mixing bowl. Keep on breaking the crumbs up until the mixture resembles quite fine chocolate dirt i.e. very small cake crumbs. A few pea sized bits are ok, but they will make it harder to form perfectly spherical balls.
Add about 300g of frosting to your cake crumbs and use a fork to work it in until it appears to have disappeared into the crumbs. Be patient, it may take a little while. If there is still plenty of dry crumbs lurking at the bottom of the bowl, add a little more frosting and work it in. Continue in this fashion until you have a mixture that just comes together when you press it in your hands. I find that a slightly dryer mix is easier to shape into balls and holds a round form better as the bottom is less likely to flatten when placed on the baking tray. However, if you like your cake balls on the softer and squishier side, then feel free to add as much frosting as you like!
Take roughly 50g of the ‘dough’ (about a scant ¼ cup) and with clean, dry hands (they must be dry), roll it into a ball. Feel free to make the balls as big or small as you like, depending on what you intend to use them for! Place the ball on a baking tray. Repeat until you have used all the mixture, washing your hands every now and again to ensure smooth rolling. Pop the trays into the freezer for at least one hour to firm up. This will make your life a lot easier when it comes to dipping the cake balls in the melted chocolate.
Just before you intend to remove the cake balls from the freezer, set up your workspace. Set your licorice legs out on a board, ready for attaching. Tip your chocolate sprinkles into a small bowl for easy access. Start melting the chocolate in a heatproof bowl over a pot of simmering water and stir regularly with a plastic spatula. Have another baking tray (or two) at the ready, covered in greaseproof paper. You’ll also want at least one fork and a spoon for dunking the cake balls. Be warned, this can be messy business!
Once the chocolate is melted, add a teaspoon or so of sunflower oil so that it is nice and runny – this way the chocolate leaves a smooth coating. Plop a cake ball into the chocolate, spoon over some more chocolate and gently toss with a spatula/fork to coat. Carefully lift up with a fork and gently tap the fork against the side of the bowl so that any excess chocolate can run away. Slowly roll the ball off the fork and onto the baking paper. Don’t worry if excess chocolate forms a little bit of a foot, you can cut this away later. Towards the end of the dunking process, you will need to keep scraping the chocolate down the sides of the bowl so that you have enough to coat the last few balls. Alternatively, just melt more and be prepared to have excess.
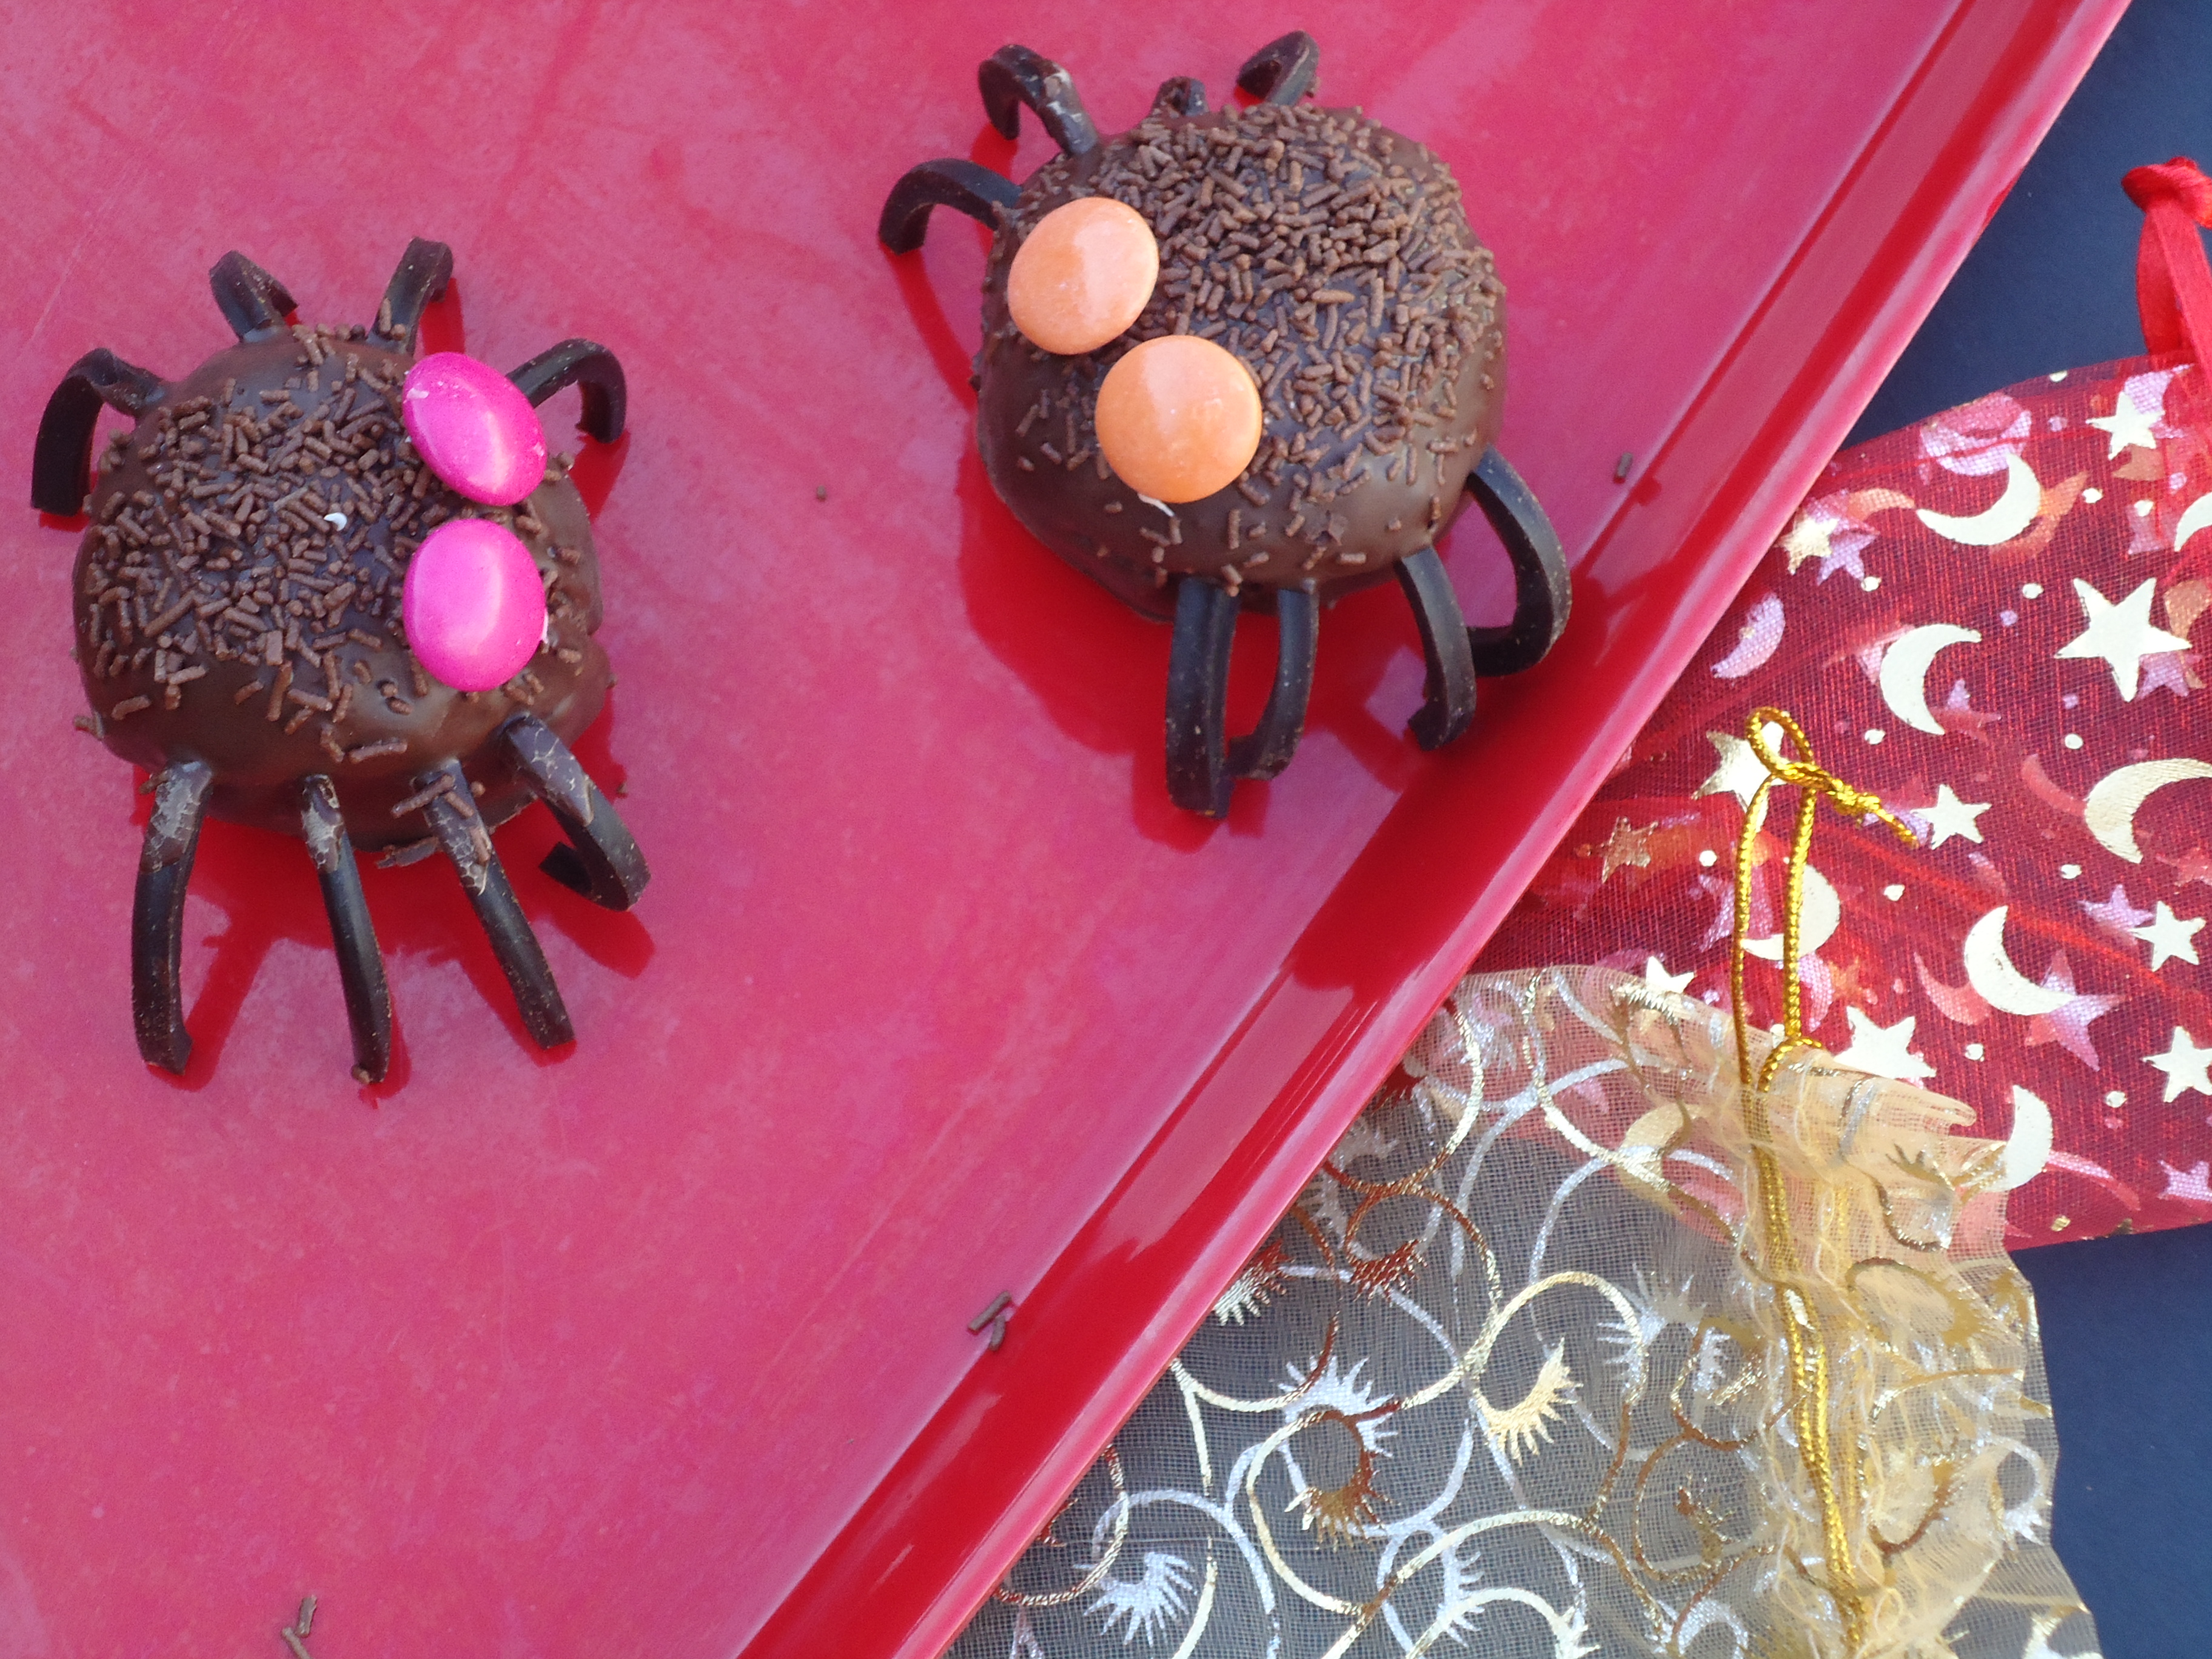
Next, stick on the legs – four strips of liquorice either side. It helps to have two people at this stage; one to dip the balls in the chocolate and one to apply the legs. The legs may take some patience (they like to slide around), so just take it slow. The dipping/leg attaching process will take you between 30 minutes to an hour, depending on how many helpers you have, if any. Once the chocolate has cooled slightly, sprinkle on approximately one teaspoon of the chocolate sprinkles.
Repeat with the remaining cake balls.
Leave cake balls to set. (I left them overnight). The oven works especially well for storage (turned off of course!) as it means you can leave the cake balls out at room temperature, uncovered and on the tray you set them on after dunking. The oven is sealed so no nasty critters/germs can contaminate your work of art!
Once the chocolate has set, dab a tiny amount of frosting on one side of a smartie. Carefully press it onto one end of the top of the ‘spider’. Repeat the process so that the spider is now looking at you with two googly eyes. Continue until you have given all the spiders vision. É voila, you’re done!
Source: Inspiration from The Pioneer Woman.


2 thoughts on “Spooky Spider Cake Balls”
belstaff.cqwawa.net
I am really impressed with your writing skills and
also with the layout on your blog. Is this a paid theme or did you modify it yourself?
Anyway keep up the excellent quality writing, it’s rare to see a great blog
like this one today.
tastewithoutwaste
Thank you very much! I purchased a premium theme from wordpress called ‘Handmade’ and have subsequently modified it myself. So it’s really a mish-mash of both.