
My grandmother is one of my ultimate cooking heroes. She’s up there with Hugh Fearnley-Whittingstall and Rachel Khoo. I cherish the memories of being a wee lass and sitting on the counter/kneeling on a chair/standing on tiptoes at the counter/wearing the new apron that we sewed (confession: I still wear it) helping her shape biscuits, sift dry ingredients, cream butter and sugar, and eventually doing the whole thing myself. Never pushy, never impatient, ever happy to answer the many mundane ‘why granny, why?’ questions, she was – and still is – the ideal culinary instructor. She’s been making these cheese scones for yonks, and for a person who isn’t the biggest fan of savoury scones these sure do okay. Actually, you know what, I’m going to go out on a limb and say they’re actually the bees knees.

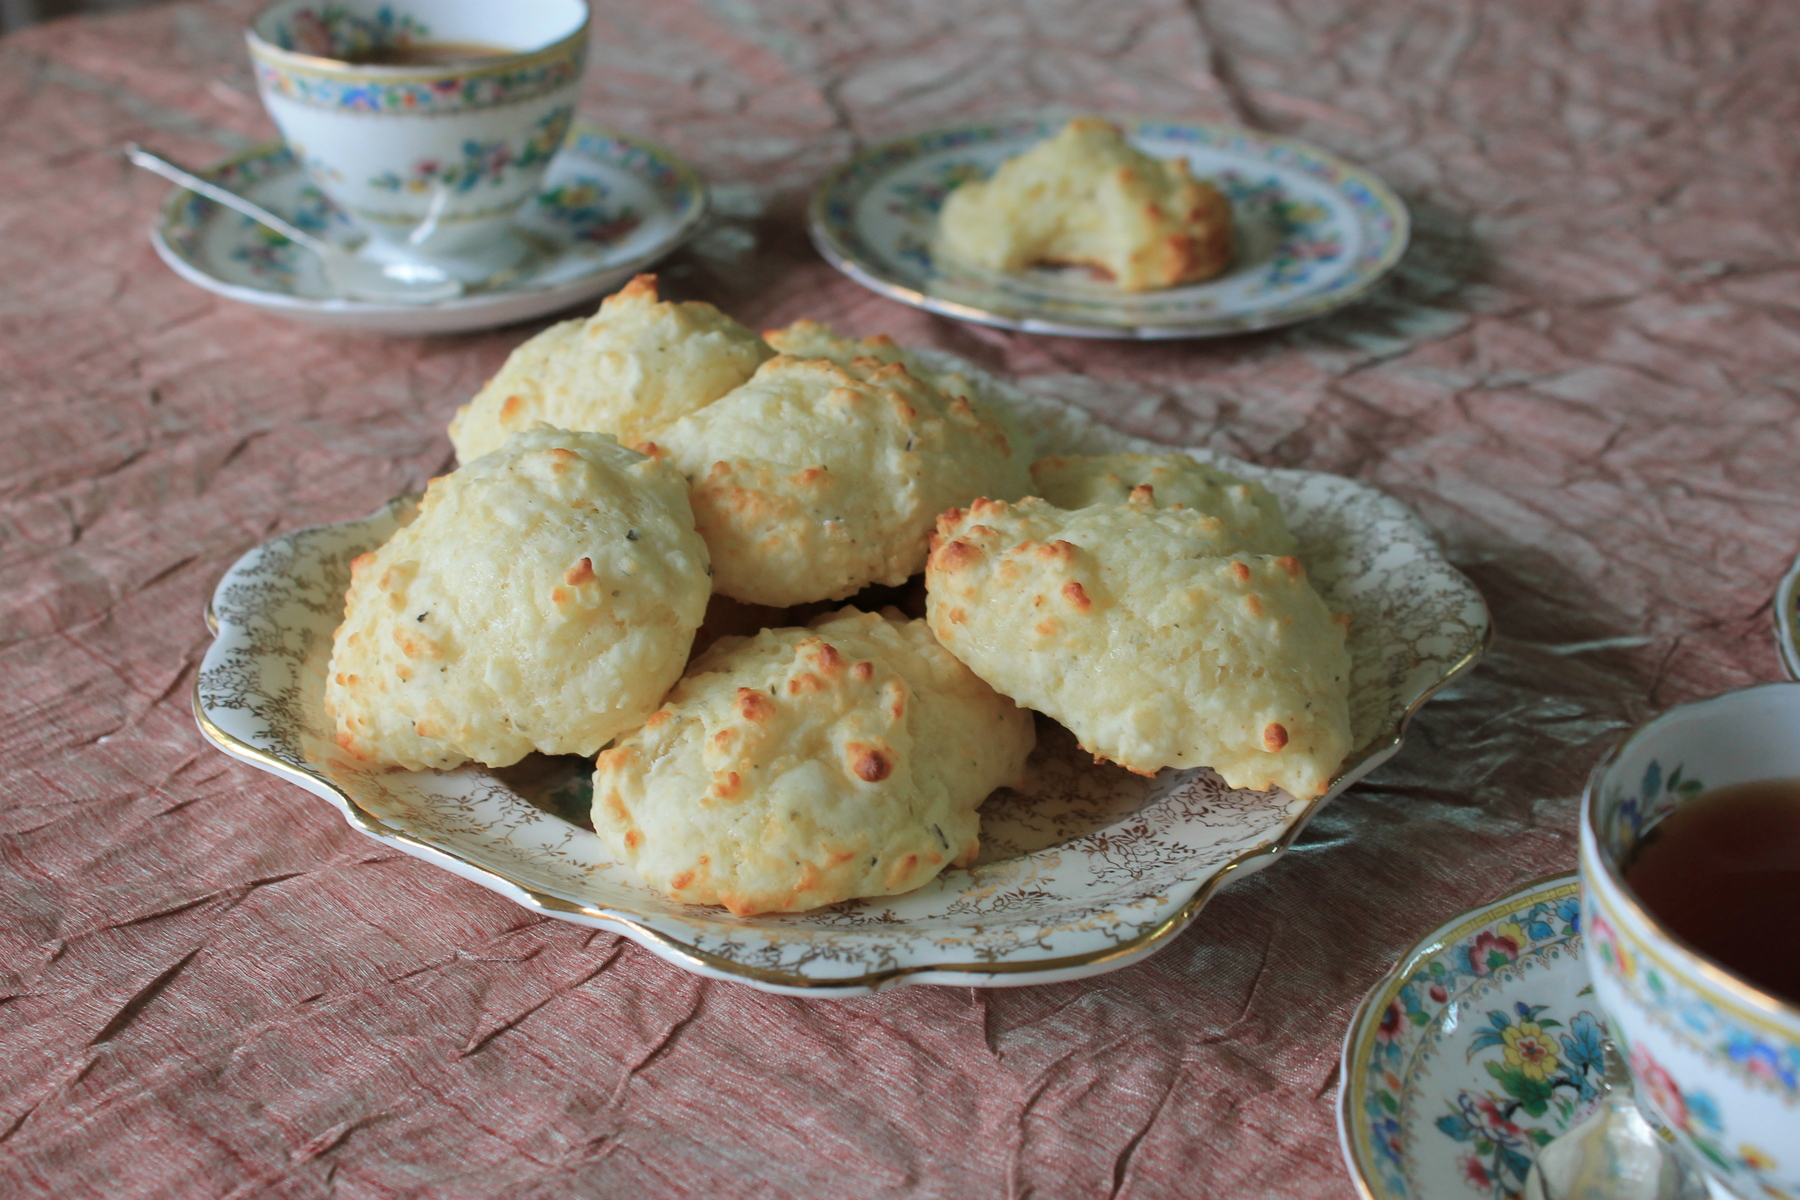
Light, fluffy, spattered with mixed herbs and spiked with Cayenne (which does wonders for drawing out the flavour of the cheese), they’re a far cry from the stodgy, bland cheese scones I’ve encountered in the past. A vintage cheddar, or stronger, is essential for the correct balance of flavours. It’s worth the extra penny. Treat yourself. The delicate crumb comes down to minimal mixing and a light touch (we’re not mauling the scones), whilst the moisture is thanks to a significant amount of milk and cheese. He-llo calcium. The consistency of this scone dough is distinctly shaggy and sticky – it should almost drop off the end of the spoon when held in the air. Sure, this means that they don’t have the exterior crunch that most standard scones have yet they’re of a different kin, so it’s really no issue. The ‘sticky’ dough equates to a super simple preparation process – there’s no kneading required whatsoever. Rubbing cheese into the flour (rather than cold cubes of butter) is pure genius. Not to mention oodles easier.

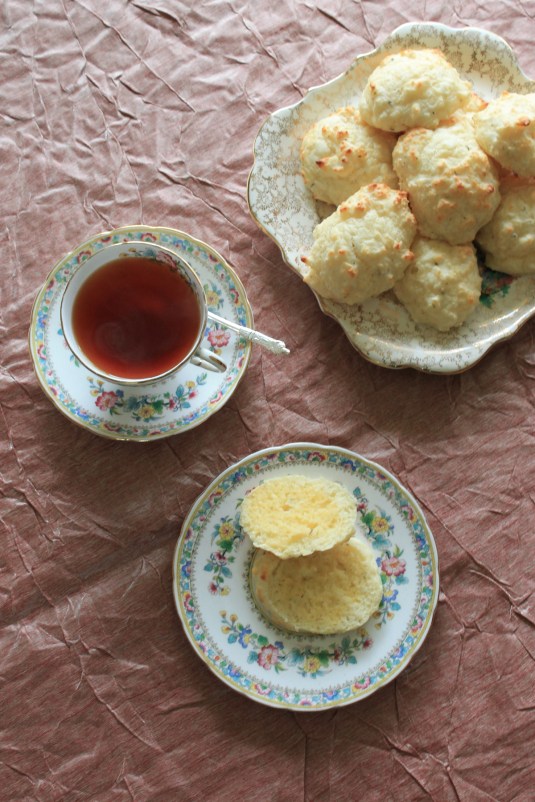
An ever patient granny waited while I scribbled down exact amounts of the ingredients – to her it’s always a dash of this, a bit of that – and then while I photographed the scones before we could dig into one with a good cuppa. However, when I began to cut a scone in half for presentation’s sake she almost pulled her hair out, insisting that it was simply not the done thing. You are to only slice partway through the scone, just enough to insert some butter and let it melt. Anything else is just daft. According to granny dearest, I should not mislead people by showing them a photograph of the scone cut in half. You do have my deepest apologies folks, if you do indeed feel deceived.
One last scrap of advice that I was forced prompted to impart with you is that the scones simply must be served warm. They’ll keep for a number of days in an airtight container, but pretty please pop them in a warm oven for a few minutes before serving. Thank you and good day, yours sincerely, Granny Brampton and her rebellious granddaughter (cutting the scone completely in half, sheesh).
Granny’s Cheese Scones
Makes 10-12
Ingredients
1 cup self-raising flour
Small pinch cayenne pepper
¾ tsp salt
¼ tsp pepper
¼ tsp dried herbs of choice (she tends to use mixed herbs)
1 cup finely grated cheddar cheese (the stronger the better)
Approximately ¾ cup milk
Method
Preheat the oven to 200C. Line a large baking tray with baking paper.
Sift the flour, cayenne pepper, salt and pepper into a large bowl. Stir through the dried herbs.
Tip in the finely grated cheese and rub it into the flour using the tips of your fingers (like you would with butter), until the mixture resembles fine breadcrumbs.
Make a well in the centre of the mixture and gradually pour in the milk, using a large metal spoon to stir/fold it in. Keep adding milk until you achieve a very shaggy consistency. It should still be thick, but quite sticky and should almost drop off the end of the spoon if you hold it in the air.
Scoop heaped tablespoons of the mixture onto the tray, 1 inch apart. These are not scones that you elegantly shape!
Bake for 10-15 minutes or unitl the tops have begun to brown in places and the bottom of the scones are quite brown. Set the pan on a wire rack and leave to cool for 3 minutes before transferring the scones from the pan to the wire rack to continue cooling.
Must be served warm. Are best when a small slit is cut into the side of the scone and a little butter inserted.
Will keep in an airtight container for up to a week (remember to gently warm them before serving!). Can be frozen for up to 2 months.
Source: Granny Brampton.


